


Introduction
One of the great challenges with deploying devices at the edge is security. On such devices we need to make sure the running software hasn’t been tampered with and we also have to assume that malicious physical access to the device is always a possibility. Is securing edge devices against such threats doable with existing software and hardware?
In this blog we look at how to secure an embedded device with Trusted Substrate - a BIOS that delivers standards based secure booting and over-the-air (OTA) updates.
Why do we need to trust a device?
The first thing we need to do is make sure the device software (firmware or OS) can’t be modified without approval. For firmware in the Arm world this can be done by using a ‘Root Of Trust Public Key’ or ROTPK and a Stage 1 Boot Loader (BL1) stored in trusted ROM. Using Arm Trusted Firmware for Cortex-A (TF-A), each bootloader stage verifies the next one before executing it.
- BL1 is responsible for authenticating BL2
- BL2 is responsible for authenticating all the subsequent BL3x stages, until eventually execution is transferred to BL33
On SystemReady devices BL33 is an EFI bootloader so from that point onward EFI can take care of the loaded kernel authentication. If there’s a need to authenticate the filesystem as well, there are existing tools someone can use (e.g dm-verity). At this point we’ve cryptographically verified everything so it should be hard for an attacker to tamper with our system. There are still a few issues we need to address though. Protecting against physical tampering
The device tree that we use, if loaded externally, can’t be trusted. Neither can we trust the initramfs we use to load our OS. Arguably we can work around these problems. For the initramfs we can concatenate it with our kernel and verify it as part of the EFI secure boot process, while for the DTB we can provide it as part of the bootloader which is cryptographically verified by BL2.
The biggest problem remains physical access to devices. An attacker with direct access to the hardware could entirely replace or compromise the flash which holds the secure database used for our EFI keys. In that scenario he can sign and launch a completely different binary and everything will appear to be authenticated.
So how do you stop this from happening?
Securing your device through Trusted Substrate
U-Boot supports EFI TCG2 protocol. Its purpose is to define APIs and provide information for things like, is a Trusted Platform Module (TPM) present, which Platform Configuration Register (PCR) banks are active, obtain the Trusted Computing Group (TCG) boot log, extend hashes to PCRs, append events to the TCG boot log and so on.
We did an introduction to TPMs in a previous article but the most interesting features for us are Platform configuration registers (PCR) and key sealing.
PCRs are large enough to hold cryptographic hashes and start zeroed out while they can only be reset on a system reboot. Those can be extended by writing a Secure Hash Algorithm (SHA) hash (typically SHA-1/256/384/512 for TPMv2) into the PCR. The TPM concatenates the new hash to the existing PCR value and another SHA is calculated which is now stored in the PCR. This gives us the ability to measure different stages of the boot process. As a result, all measurements are interdependent and changing any (measured) component during the boot flow will result in an entirely different PCR value.
If the device has internet access we can perform ‘remote attestation’. In that case the TPM can provide a digital signature of the PCR values along with an EventLog to a remote server. The remote server can then inspect the EventLog, replay it and verify it’s validity against the provided PCRs and compare those against a good-known-state of the system configuration stored in the local database to detect tampering.
If internet access is unavailable we can encrypt our filesystem and seal the key safely into the TPM. If any of the measured components changes, the TPM will never release the key which allows you to decrypt your filesystem.
Meta-trustedsubstrate is an OE layer geared towards security. It’s built from a variety of open source projects, an ‘upstream first’ mentality and provides a SystemReady-IR compliant firmware with UEFI Secure boot and Measured boot enabled by default for all supported hardware. It’s aim is to guarantee that your device will run the software it was intended to run starting from powering up your device up to launching it’s OS.
So how do you get started with Trusted Substrate?
Below we provide a step-by-step guide to setting up UEFI Measured boot on Socionext’s DeveloperBox with meta-trustedsubstrate.
A while ago we explained how storing EFI Variables into an RPMB partition of an eMMC works. There are basically three requirements:
- OP-TEE support
- A working eMMC in U-Boot and Linux
- Upstream U-Boot support
With an eMMC available we can also use Microsoft’s firmware TPM (or fTPM) and enable measured boot even if your hardware doesn’t have a discrete TPM. There’s a lot of firmware components that need to be compiled for this to work. Just for reference you will need
You will also need complex instructions on how to compile those and assemble the image. Using meta-trustedsubstrate makes the whole process trivial. You can produce a firmware with:
git clone https://git.codelinaro.org/linaro/dependable-boot/meta-ts.git
cd meta-ts
kas build ci/synquacer.yml
Update the firmware
You can find detailed instructions here. The tl;dr version is flip DSW2-7 to enable the serial flasher, open your minicom and use xmodem to send and update the files.
All the files you need will be located at build/tmp/deploy/images/synquacer/
flash write cm3 ->  Control-A S -> send scp_romramfw_release.bin
flash write arm-tf -> Control-A S -> send fip_all_arm_tf_optee.bin
flash rawwrite 0x500000 0x100000  -> Control-A S -> send optee/tee-pager_v2.bin
flash rawwrite 0x200000 0x100000 -> Control-A S -> send u-boot.bin
Install a distro
I am using Fedora on the example here, but given that U-Boot versions since 2021.04 are SystemReady-IR compliant any COTS distro should work.
sudo dd if=Fedora-Server-netinst-aarch64-35-1.2.iso of=/dev/sdX bs=128M status=progressPlug in your usb stick in a port and start up the board. In U-Boot’s console do:
usb reset
load usb 0 $kernel_addr_r efi/boot/BOOTAA64.EFI && bootefi $kernel_addr_r
Since I am using the box in headless mode (the GPU support has known issues), installing via VNC is a nice option to avoid the console nuisance.
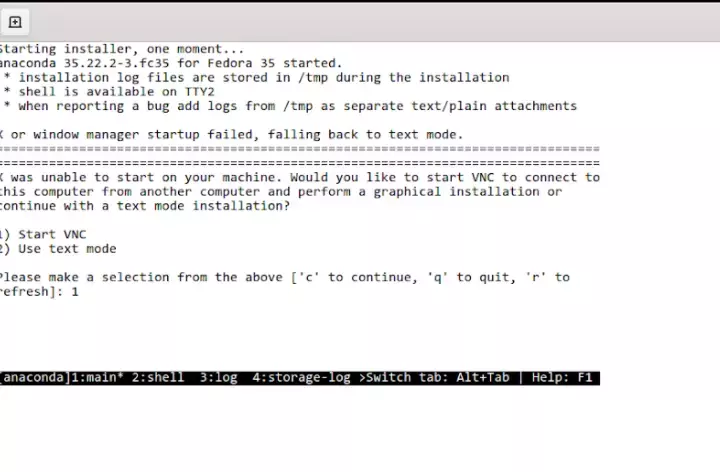
Start the installer and enable VNC
Make sure you encrypt the filesystem using a password as we’ll be needing this later on:

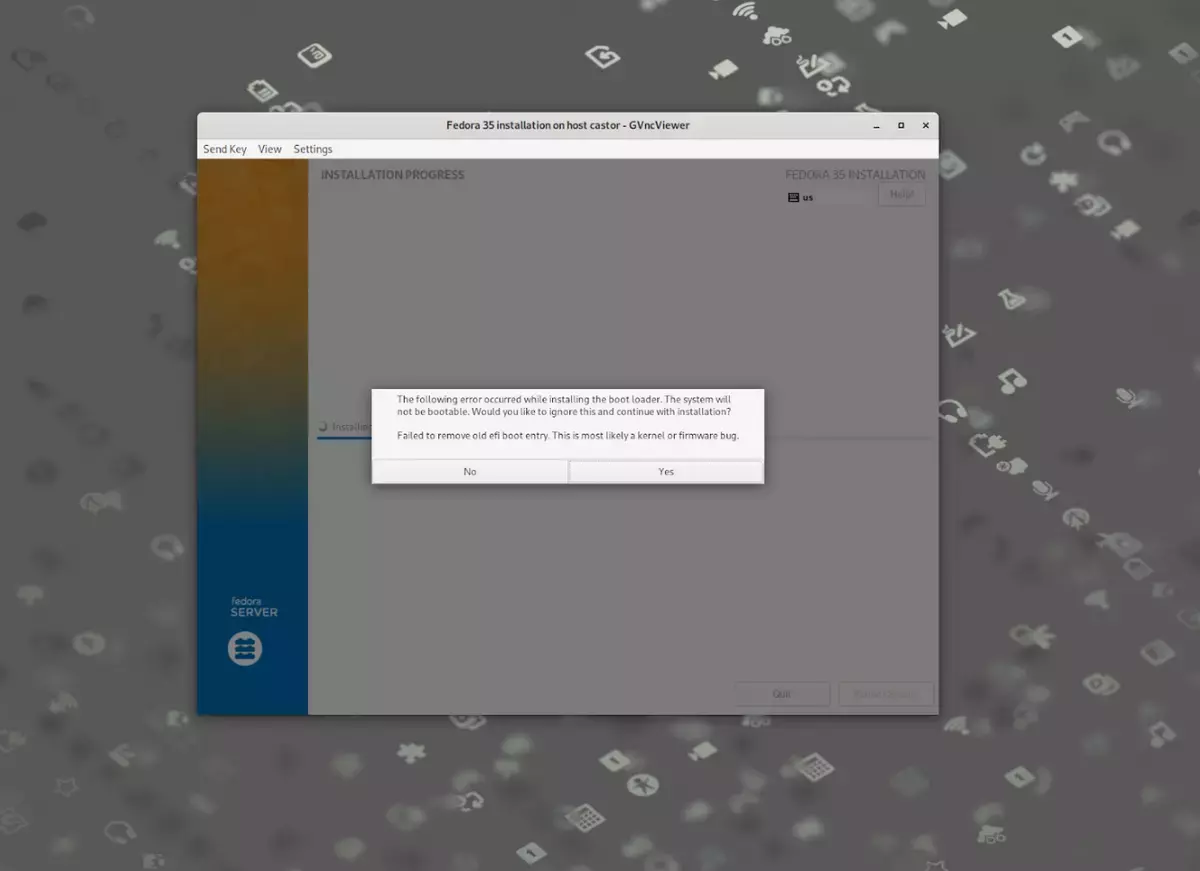
It’s worth noting that since U-Boot does not support SetVariable at runtime you’ll get an error while the installer is trying to update the EFI Boot variables. This is far from fatal, you can just continue the installation and fix up the boot options later.
Once the installation completes, you will have three partitions: EFI, boot, and the LUKS encrypted root.
Reboot your board and stop U-Boot at it’s console.
nvme scan
efidebug boot add -b 0 Fedora nvme 0 EFI/fedora/shimaa64.efi
efidebug boot order 0
bootefi bootmgr
That should set SHIM as your first boot choice.
Enabling fTPM
The kernel modules needed for Microsoft’s fTPM are included in the Fedora35 kernel. However, since it relies on OP-TEE to provide the RPMB access, you need to start the OP-TEE supplicant before the module gets inserted.
Compiling optee_client On the target system, get a copy of optee_client, compile it and install it. The default installation will end up on /usr/local/sbin (future Fedora versions will include an optee-client package).
git clone https://github.com/OP-TEE/optee_client.git
cd optee_client && mkdir build && cd build
cmake ../ -DRPMB_EMU=0
make -j$(nproc)
sudo make install
Enabling fTPM on systemd Create /etc/systemd/system/tee-supplicant.service with the following contents
[Unit]
Description=tee supplicant

[Service]
User=root
ExecStart=tee-supplicant
Restart=always

[Install]
WantedBy=sysinit.target
and enable the service
sudo systemctl enable tee-supplicantIf you reboot your system now your firmwareTPM should be operational. You can check the logs with
sudo tpm2_eventlog /sys/kernel/security/tpm0/binary_bios_measurementsSealing the key
Remember when you installed an encrypted filesystem? With the TPM up and running now you can automate the decryption of your root filesystem and bind the keys to specific PCRs.
Fedora has clevis, an automated encryption framework, which can make your life easier as far as key sealing and unsealing is concerned. Make sure to install the necessary packages before you start with
sudo dnf install clevis clevis-luks clevis-dracut clevis-udisks2 clevis-systemd
sudo clevis luks bind -d /dev/nvme0n1p3 tpm2 '{"pcr_ids":"7"}'
The PCR usage is described here
- PCR0: SRTM, BIOS, Host Platform Extensions, Embedded Option ROMs and PI Drivers
- PCR1: Host Platform Configuration
- PCR2: UEFI driver and application Code
- PCR3: UEFI driver and application Configuration and Data
- PCR4: UEFI Boot Manager Code (usually the MBR) and Boot Attempts
- PCR5: Boot Manager Code Configuration and Data (for use by the Boot Manager Code) and GPT/Partition Table
- PCR6: Host Platform Manufacturer Specific
- PCR7: Secure Boot Policy
- PCR8-15: Defined for use by the Static OS
- PCR16: Debug
- PCR23: Application Support
You can use any PCR you think is appropriate for your device security, but the most scalable for us is PCR7, which holds the EFI keys and the UEFI SecureBoot state. Measuring that would render physical attacks against the EFI variable storage useless - changing the keys would yield a different value for PCR7. We can also use the TPM to measure the initramfs and DTB we load to the device, providing the guarantees we need for those files.
Adding tee-supplicant to your initramfs
As I mentioned earlier, the fTPM relies on the op-tee supplicant for the RPMB accesses. So the missing piece of the puzzle in order to access your TPM, unseal your key and decrypt the filesystem, is to create an initramfs with the needed modules and the tee-supplicant.
Create /usr/lib/dracut/modules.d/60tee-supplicant/ directory, copy the /etc/systemd/system/tee-supplicant.service we created earlier and add a module-setup.sh file with the following contents:
#!/usr/bin/bash
check() {
    require_binaries /usr/local/sbin/tee-supplicant || return 1
    return 0
}

depends() {
    return 0
}

install() {
    inst /usr/local/sbin/tee-supplicant /sbin/tee-supplicant
    inst "$moddir/tee-supplicant.service" "$systemdsystemunitdir/tee-supplicant.service"
    $SYSTEMCTL -q --root "$initdir" add-wants cryptsetup.target tee-supplicant.service
}

installkernel() {
    hostonly='' instmods =drivers/char/tpm
    instmods tee optee
}

You can now re-create your initramfs with

sudo dracut --add clevis-pin-tpm2 --add tee-supplicant --force
If everything is setup correctly you should see something along the lines of this on your screen
Welcome to Fedora Linux 35 (Server Edition) dracut-055-6.fc35 (Initramfs)!
<snip>
\[  OK  ] Reached target Basic System.
         Starting Cryptography Setu…8ff0-43f6-9484-b4f16ff43093...
\[  OK  ] Started tee supplicant.
Please enter passphrase for disk Samsung SSD 960 EVO 250GB (luks-5fe9fed9-8ff0-43f6-9484-b4f16ff43093):
but this time you won't have to supply a password!
Future work
Distros use an intermediate bootloader called SHIM before loading GRUB and eventually your OS. SHIM, which mainly exists to bridge the signing authority gap between commercial firmware implementation - microsoft keys and distros, is responsible for verifying GRUB which in turn is responsible for verifying your OS kernel. This makes sense for large servers and commercial hardware with a number of hardware combinations.
However this adds an unnecessary complexity and increased attack surface on small purpose-built devices. In a follow up post we will explore booting the kernel directly and enabling UEFI secure boot using Trusted Substrate and the LEDGE reference platform.
To find out more about Trusted Substrate and how to get involved, visit our project page.